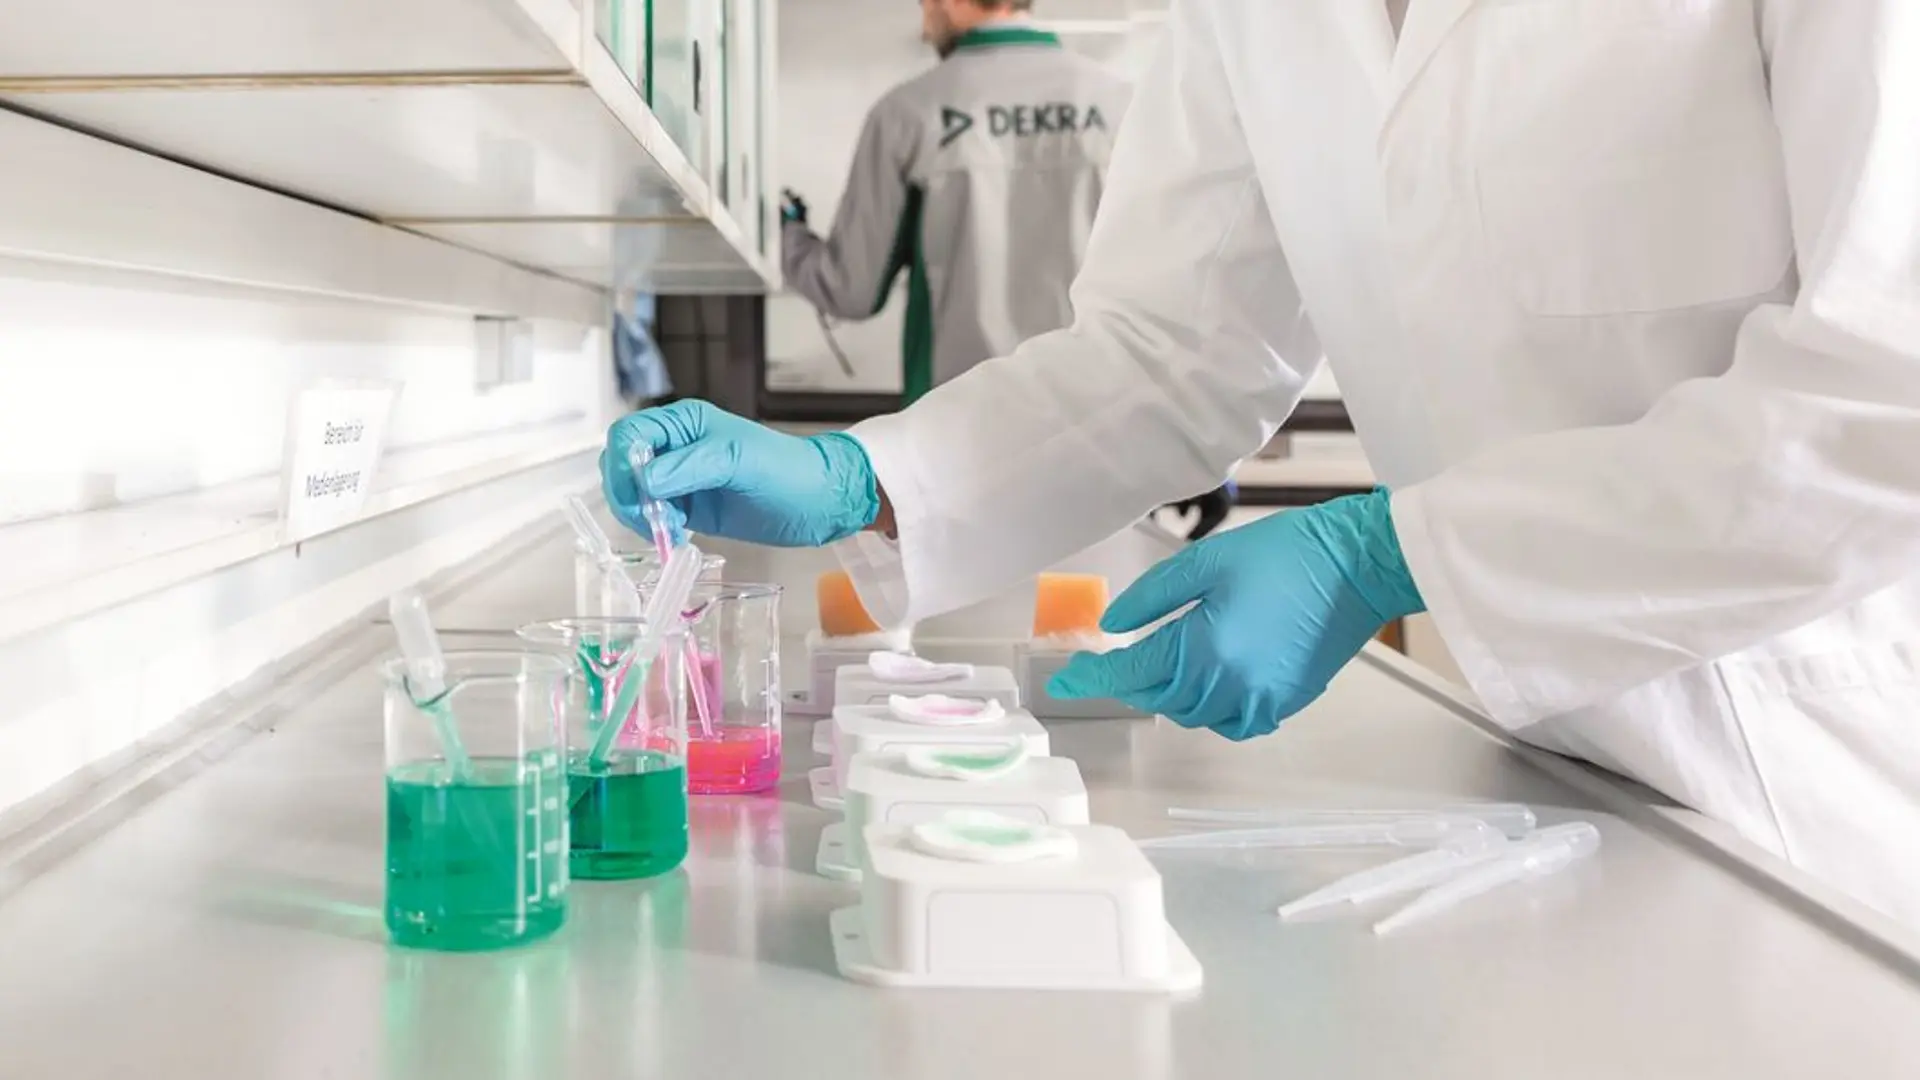
Laboratory sites DEKRA Automobil GmbH, Germany
Kontaktdaten
Handwerkstr. 17
70565 Stuttgart
Material testing and damage analysis
In our accredited laboratories we test structures and properties of metal alloys, plastics and composites. For manufacturers, insurance industry and retail we carry out comprehensive damage investigations to distinguish between misuse, mounting and material defects. Our experts detect overload, fatigue and stress on materials, for example caused by corrosion or material defects.
Microstructure analyses, hardness tests and fractured surface examinations
Metallographic material examinations are used to analyse and prevent material damage. In our accredited materials laboratory, we use scanning electron microscopy (SEM/EDX) to examine components for wear or corrosive attack, measure the depth of corrosion and carry out solder seam examinations on printed circuit boards.
Your benefits of metallographic testing in the DEKRA laboratory
- Precise grinding and microstructural examinations of all materials and material combinations
- Detailed structural examination of the materials used
- Issuing of acceptance test certificates
- Comprehensive damage analyses and determination of material defects
Finest structural analyses with SEM-EDX
We use electron microscopes, such as SEM/EDX and FE-REM/EDX (Field Emission Scanning Electron Microscope), to examine surfaces and fractured surfaces, with magnifications of up to 100,000 times. This makes it possible to carry out investigations in the nanoscale.
By means of connected EDX analysis (energy dispersive X-ray spectroscopy), we also determine the chemical composition of coatings, corrosion products, phases, inclusions, particles, fillers and individual layers for you. We also use radio spectrometry (OES) to determine whether the target material was used for your component or whether there are material defects.
Metallographic test procedures
- Hardness tests according to Vickers, Brinell and Rockwell
- Hardness curves for determining the surface hardness depth, case hardness depth and nitriding hardness depth
- Stress corrosion cracking testing of copper alloys
- Weld seam testing (including DIN EN ISO 5817)
- Grinding burn test
- Determination of decarburisation depth (DIN EN ISO 3887)
- Fracture surface analysis / fractography
- Determination of the heat treatment condition
- Examination of non-conductive samples in low vacuum
Microscopic examination and chemical alloy analysis
- Light microscopy, stereomicroscopy
- Field emission scanning electron microscopy (FE-REM / EDX)
- Coating thickness measurement (DIN EN ISO 1463)
- Grain size determination (DIN EN ISO 643, ASTM E112)
- Pore content determination
- Content of non-metallic inclusions in steels with image series (DIN EN 10247)
- Graphite formation (DIN EN ISO 945-1)
- Carbide formation in steels (SEP 1520)
- Element distribution images (mapping and line scan)
- Particle analyses
- Spectral analysis of metal alloys based on iron, aluminium, copper, nickel, zinc and titanium using spark spectrometry (OES)
- CS combustion to determine the carbon and sulphur content of inorganic samples (cast iron)
- Element analysis by ICP-OES (after digestion)
- Determination of purity (DIN 50602)